Friendly Red-Dragon Stew

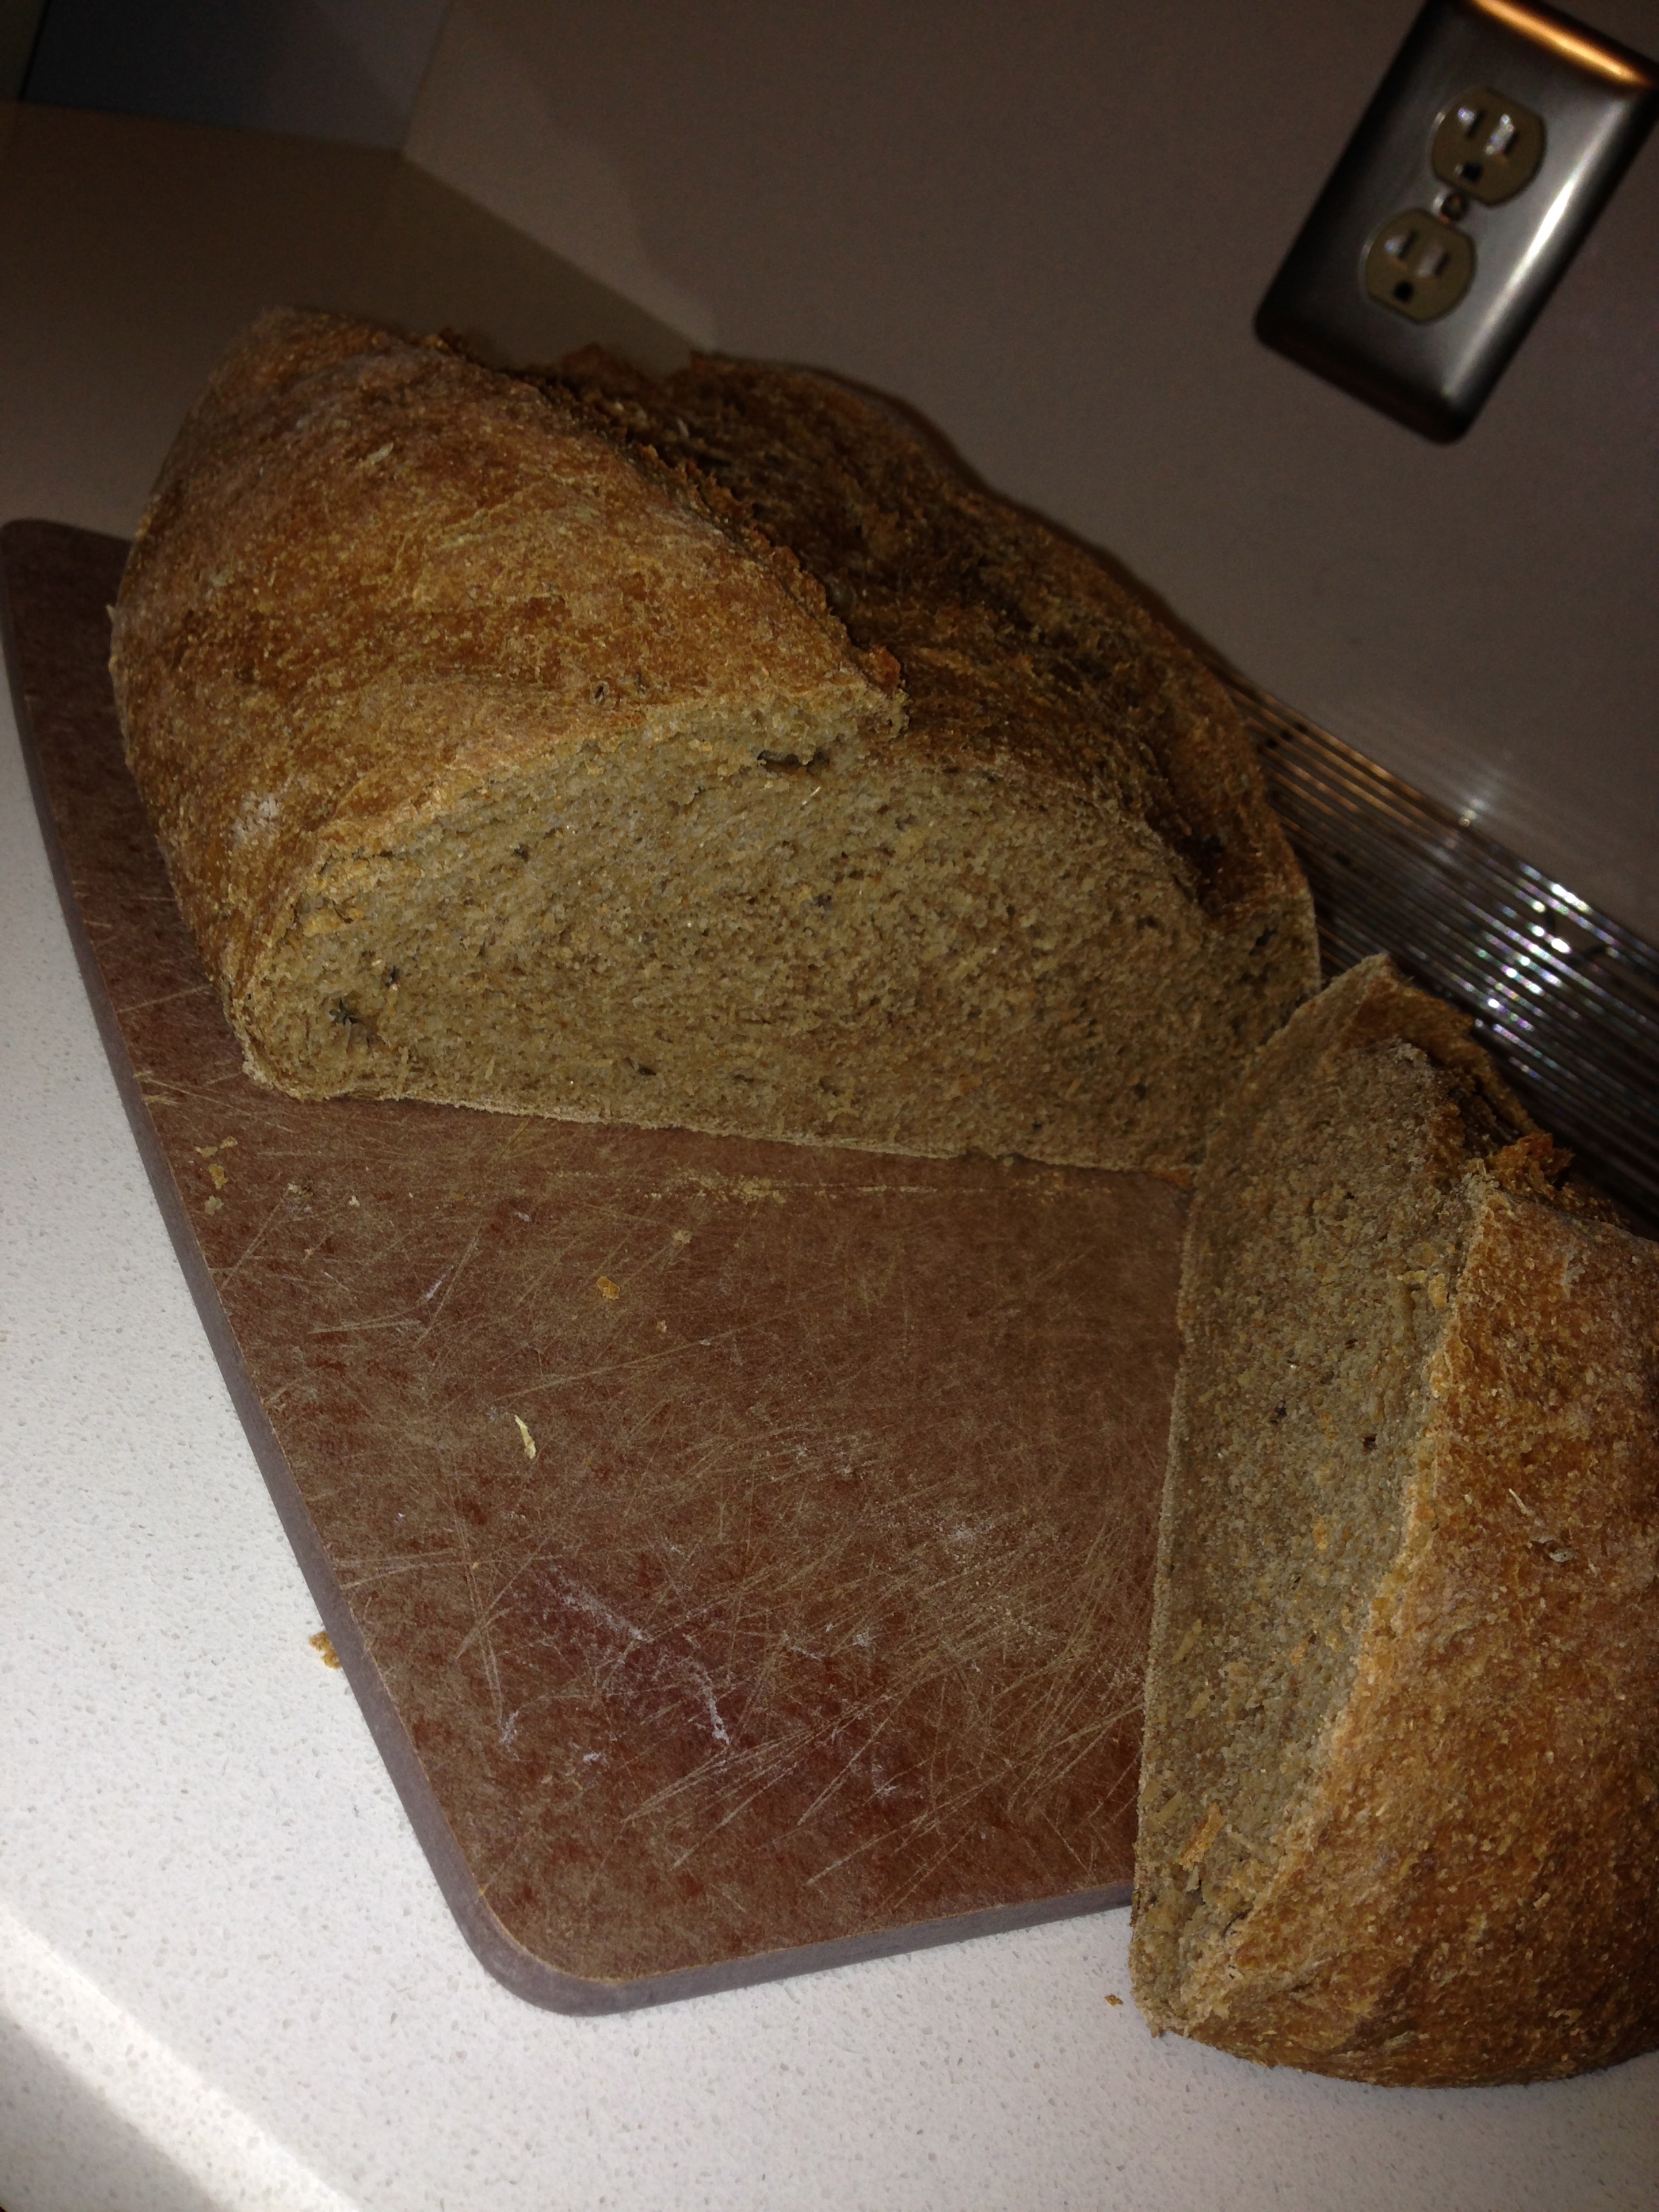
Lesser known are the milder, calmer, non-carnivorous dragons.  This doesn’t mean they are any less interesting, but they are far less dangerous to the random traveler, and potentially more hospitable to those they meet.  Their temper can still flare some, but they are less prone to fiery outbursts and devouring man and beast.  May this warm, hearty, mildly fiery stew connect you with those dragons of the friendlier kind … or at least warm your belly.

Vegetable-Lentil Slow-Cooker Soup

Ingredients:

  • 1-1/2c red lentils
  • 3 large carrots, peeled and diced
  • 1 red bell pepper, chopped
  • 1-1/2c celery, chopped
  • 3 russet potatoes, peeled and chopped
  • 1 onion, chopped
  • 1 can chick peas
  • 3 garlic cloves, minced
  • 1t salt
  • 1t parsley
  • 1t oregano
  • 1/2t paprika (smoked works best!)
  • 1/4t cayenne pepper
  • 6-1/2c vegetable stock

Instructions:

  1. For same day cooking:  place all ingredients in a slow cooker cauldron and pour in vegetable stock.  Cook on high for 5 hours, or low for 8 hours.
  2. For next day cooking:  prep everything except the garlic and seasonings.  Store in root-cellar or appropriate substitute. On the next day, dump everything into the cauldron (base ingredients, seasonings, and broth), and cook as above.
  3. In preparation to cook another day:  add all ingredients — except for broth — to a large magically zipping bag and place in ice box.  When ready to use, remove the bag, dump contents into slow cooker, and add broth. Cook on high for 5-6 hours, or low for 8-9 (low can be better for frozen).  Since the frozen contents may be uncooperative with being “dumped”, a brief period of thawing may be wise.

Slaad Soup

In the middle of the colder months, it can be nice to get some compilation of vegetable ingredients together, but too often they can come loaded with potatoes, rice, and other bulk imbuing starches.  This aims to be something more salad-like in nature while also being warm and comforting against any chill in the air … or under foot.

Spinach and Kale Soup (aka Slaad Soup)

Ingredients:

Cashew Cream

  • ¾ cup raw cashews, soaked for 2 hours up to overnight
  • 1 cup water (not for soaking)

Soup

  • 2-3T extra virgin olive oil
  • 1 onion, finely chopped
  • 2 cups spinach leaves
  • 2 cups chopped kale
  • 1-2 carrots, diced
  • 1-3 cloves garlic, minced
  • 1T Italian seasoning
  • Salt and pepper, to taste
  • 4 cups vegetable broth
  • ¼ – ½ cup lemon juice
  • 2T apple cider vinegar or red wine vinegar
  • 2-3 green onion stalks, sliced thinly
    • and/or replace with bell peppers
  • 3-4T sesame seeds
  • 1C chopped mushrooms

Instructions:

  1. To prepare Cashew Cream: Drain and rinse cashews a couple times. Pour into a blender along with water and blend, scraping the sides as needed, until totally smooth. Set aside.
  2. To prepare Soup: Heat oil in a large stockpot over medium heat. Add onions and sauté for a few minutes until softened.
  3. Stir in spinach, kale, carrots, and garlic. Season with Italian seasoning, red pepper flakes, salt, and pepper. Sauté for 2-3 minutes more or until garlic is fragrant.
  4. Pour in vegetable broth, and mushrooms, and stir to combine; if adding bell peppers, add now. Cook for 15-20 minutes, stirring occasionally, or until greens are wilted and carrots are tender.
  5. Remove soup from heat and stir in lemon juice, vinegar, and cashew cream. Soup can be served as is or blended using a food processor or blender for a richer, creamier soup.
  6. Garnish soup with green onions and sesame seeds. Enjoy!

Wild Boar Sweet Italian Sausage

Begin with an 11 pound boar shoulder with the roasting ham intact and 4 and a half pounds of either fat back or bacon belly.

Carve away anything that is bone or silver skin or hard tendon, but render everything else into 1-1.5 inch cubes.

You want to end up with roughly twice as much lean as fat so that your final grind is basically 1/3 fat.

For us, the 14.5 pounds we started with rendered about 10.5 pounds of lean and fat.

Pass a relatively even 2/1 distribution of lean to fat cubes (so that you don’t have to over-mix later to fully integrate) into a meat grinder with a fairly coarse screen choice.

Spread on a hotel sheet into as thin and flat a layer as you can without over working it so that it all fits on the pan.

Sprinkle approximately one gram of kosher salt for every 60-80grams of meat (and fat) depending on your personal seasoning preferences. The charcuterie book I was referencing actually said 1 per 45 grams, I cut that back to 67 and then didn’t even put all that salt on because it looked like way too much and the end result was plenty seasoned for my tastes.

Put yellow mustard seeds and black pepper corns in a spice mill and render fine. Blanket the meat with this powder. When I say blanket, I mean don’t hold back. Make it hard to see the meat.

Apply a sparing amount of smoked hot paprika (or a mixture of smoked and hot if you can’t find smoked hot) depending on your taste — remember the result is a sweet Italian, not a hot Italian and not a kielbasa.

Blanket with fennel pollen. If you can’t find this, grind fennel seeds to powder. The result will be a bit more licorice, and not as sweet, but it still works.

Fold the meat in on itself to the center, gently. Repeat this only as often as you feel necessary to integrate the spices.

Pull out a small ball and pan fry it in a skillet until cooked through to check seasoning and spices.

I recommend portioning into one pound amounts in freezer bags with labels and dates. If you have access to natural casings and equipment and a lot of patience, knock yourself out. I don’t, so I keep it loose.

I also recommend taking at least one pound back to the nice person you bought your wild boar carcasses from.


In Texas, wild boar are treated like a type of infesting vermin on cattle ranches. Eating their meat is encouraging neither their domestication nor them being hunted wild. It is a way of ensuring that an animal which will be shot one way or another, doesn’t go to waste. If where you live doesn’t have a wild boar problem, consider finding an ethical source of pork. You will struggle to get beef, lamb or poultry sufficiently fatty for this to produce a sausage which doesn’t seize up and become bone dry when cooked.

A few more successes with basic pan sausages and we’ll be moving on to cured salumi.

Recursive Poultry Potion

I have a new obsession. Braised duck tacos.

The problem with the potion that makes these delicious items possible is that it requires the sacrificing of a duck. No, I don’t mean the one you’re going to eat as tacos. I mean one you probably won’t eat at all, because it may not be very good once cooked. This truly is a recursive potion, and the zero-th iteration is a boot strap and so the results aren’t anywhere near as satisfying as the one through n-th iterations. The best recommendation I can give you is to get this zero-th duck in the Summer, when they aren’t really up to full weight yet, as such a duck won’t yield much meat anyway, but will produce stock, as it will be very bony. You won’t get much, if any, schmaltz from it, but that’ ok, too.

Make sure you have a Dutch oven that is big enough to hold up to about a five pound duck.

For the zero-th duck, fit it into the Dutch oven, breast side down, with the skin scored throughout to allow what fat there is to weep out of the skin. Fill with water until the bird is mostly covered. Cover. Put into an oven set to 210 degrees for at least six hours, until the carcass more or less completely collapses because all the gelatin has melted out of the bones.

Clean what meat you can, strain stock and separate what fat there is. Store the schmaltz separately, but you can store the pulled meat in the stock as if you were making a confit — not that it will last that long.

For every duck after this first one, and now I’d wait until you can get at least a five pounder which is likely to be well into Autumn, score the skin, put in the Dutch oven the same way, but instead of covering with water, cover with the stock and schmaltz from the previous duck. Add some water to make up for whatever stock you’ve used in the meantime for other purposes. Again, pull the meat, strain the stock and separate the schmaltz.

Duck cooked in duck is… well it’s fantastic.

Thin slice a jalapeno or similar pepper and sauté in a small amount of schmaltz. Before it begins to brown, add pulled duck meat and salt. Add just enough stock to keep it from burning and to make a small amount of sauce. Fold into a soft flour tortilla, lay flat in a hot skillet, place a lid to press the semi-circle flat and toast the tortilla on both sides. Top with a mild cheese if you really want to.

You will never think about tacos the same way again.

Saute kale in schmaltz with salt and roasted garlic.

Improve any sauce, gravy or soup with the stock.

Use the schmaltz in place of butter in just about anything.

When you start to grow concerned about your supply, recurse another duck.

DO NOT USE SALT WHEN BRAISING THE DUCKS

Because you’re recursing the cooking process, if you cook with salt, the results will just get saltier and saltier and saltier. So braise without it, and then season what you’re using in other applications as you go.

How to Get from Broiled Fish to Sweet & Sour Tofu by Way of Tom Yom Soup

Returning once again to “cooking without a net” and “how to make great food out of what is around the house”, over the last few weeks a series of meals happened which, at least for me, illustrated this wonderfully.

I recently discovered that my not-so-premium local super market has a far better (and cheaper) fish monger than any of the Whole Foods or the HEB Central Market. They frequently have gorgeous, not chemical soaked, sea scallops for less than $15 a pound. They often have 21-25 count shrimp for under $10 a pound. They have the best looking salmon I’ve seen anywhere in Houston. They even have cod loin for what my spoiled New England years thinks of as a reasonable price. They’re also located basically across the street from my church, where I find myself several times a week.

What this means is that I’ve begun to stop in almost every occasion just to see what they have, and even if I don’t need it right away, I buy it. Which means my freezer is now frequently full of fish and shell fish.

Many moons ago, my go-to wow the crowd dish for dinner parties was a poached cod loin served with a mango habanero sauce — which I’d make my simmering fruit and peppers until they dissolved. With the move out of New England in ’07, my access to cheap, high quality cod dried up, and I never found another plump, mild fish that fit into this dish as nicely as the cod.

Then a month ago, I discovered barramundi. Which, if you’ve never had, you should find.

The other week, I also found ripe mangos and some epic Hungarian wax peppers (the latter at the local farmer’s market). This fish is a bit thinner, without being what I’d call a “flat fish”, so rather than poaching I broiled it. I broiled it with the fruit and peppers on top and all around. Once it was all cooked, the oils, fruit and peppers went into the food processor to become a sauce.

There was lots of left over sauce.

A week or so later, I boiled a pound of fresh water 21-25 count shrimp, in their shells, with a little fish sauce. I retained that boiled water, removed the shrimp to an ice water bath and shelled them. The left over sauce went into that broth and got reduced significantly. It was then served with fresh cilantro, rice wine vinegar, the shrimp and glass noodles. It made for an excellent tom yom soup.

After all the shrimp and glass noodles were eaten, there was left over broth.

Two nights ago I put a bag of Trader Joe’s “stir fry veggies” onto a silpat under a 375 degree broiler until they were thawed and dry. I also cubed a block of spongy tofu from CostCo (seriously, this is the best non-silken tofu I’ve ever worked with and you can get three packs very cheaply) and turned it golden in a wide sauté pan of canola and toasted sesame oil. Once golden, the veggies went in and got a little color.

Then the broth went in and the whole thing got dusted with sifted flour and simmered until thickened. This was also served over glass noodles.

Sadly, this is where the left overs gravy train reached its final stop.

Crunchy Pork Chops of Savoriness

Hello again!  This cook blogger (clogger?  coogger?  No…) still exists!

This is short, sweet, and to the point.  I have finally found a way to cook pork chops that do not disappoint me.  Previously, I managed very dry chops.  Dry chops are great if you are trying to make a saddle, shoes, or want to show someone how much to dislike them joining you for dinner.  Moist, savory chops are how you tell your mouth that you love your taste buds.

My chops have been about 1″ – 1-1/2″ thick.  Obviously, this needs to be altered for thinner chops.

  • Use an oven-safe pan (like cast iron)
  • Heat about 2T oil in a pan; get it warm, but not smoking
  • Preheat boiler to High
  • Set top rack to one position down from the top
  • Rinse chops; pat dry; sprinkle with salt
  • Place in pan, salted side down; cook for about 4 minutes this way
  • Crank burner to high
  • Salt current-upside of chops.  Dash with a bit of pepper and rosemary*
  • Flip and cook for about 3 minutes
  • Stand chops on their fatty side (or non-bone side) and cook for about 2 minutes
  • Place chops salt/pepper/rosemary side down; pepper and rosemary the current up-side
  • Place chops in oven and cook for 4 minutes
  • Flip chops; cook for 3 more minutes
  • Remove and let rest for 3-5 minutes

Enjoy very moist, savory chops.

A variation of this, which is where I started is the following, adapted from an Alton Brown recipe:

  • Adjust oven racks to have to lower rack one up from the very bottom; and top one down from the very top
  • Set broiler to high
  • Use an oven safe pan
  • Oil the chops, lightly coat with salt, pepper, and I always add rosemary
  • Cook for 3 minutes on the lower rack; flip and cook for 3 more
  • Cook for 3 minutes on the upper rack; flip and cook for 3 more
  • You might want to do 4/4/3/3 for better doneness; sorry, only experience will guide this
  • Cover and rest chops for 3-5 minutes
  • Again… enjoy.

* See, there’s that rosemary thing.

2d6 Rolls of Munchies

The bread recipe I keep carrying on about has other variations that I haven’t fulled explored. Recently I attempted rolls and felt like I had a whole new Class Trait that I’d never explored.  Of course, learning more that baking is scientific, I carefully measured things out to yield 24 rolls.  The original recipe calls for about 12 rolls from the entire dough but I decided that those Troll-sized rolls might be a bit too much to go with a meal.  My current pattern is to take half of the dough and make a loaf of bread, and then use the other half to make 12 rolls in an 8×13 pan.  The pan helps the rolls keep a taller profile; I tried half of the original batch on a cookie sheet and they rolls were more the shape of mushroom caps.

The rolls are simple (following my 1 loaf, 12 rolls method here):  divide half of the dough into 4 equal parts.  Using a scale here helps.  Then divide each of those lumps into 3 equal parts; using an even smaller scale here helps.  This may sound a bit retentive, but it helps the rolls to bake evenly.  Bake for 25 minutes at 350F.  Let cool until safe to handle, and I usually remove them from the pan with a plastic spatula (won’t scrape the pan) and then cool on a cookie rack.  These can be frozen just fine.

Baking is science, not improv.

My results so far:

  • Wheat recipe:  nice light rolls.
  • Spent-grain recipe:  dense rolls; not interested in repeating.
  • Molasses wheat rolls:  I can see why these were a cousin’s favorite

I may repeat the wheat rolls with some rosemary in them.  I’m a wee bit of a rosemary addict.  (Tip:  don’t snort it…)

I imagine these rolls could be replicated with other bread starters.  Eh?  Eh?  (Let us know how it turns out…)

Meteil Hearth Loaf with Caraway & Onion

My most recent loaf was the best to date.

Meteil (less than 50%) rye baked as a “hearth” (not in a pan) loaf with caraway and onion flake.

The key? Spraying the crust with water at 2 minute intervals for the first 6 minutes (aka: 4 total sprayings,1 as it first goes in) to produce significant crunch.

Also, I stopped punching down to achieve a second rise before panning. I seem to have been exhausting the levin and thus creating dense final loaves with little to no oven spring.

Additional final adjustment was realizing that I was working so hard to make the dough not be “messy” that I was working in too much flour which (a) taxed the levin too much and (b) reduced available moisture to out-gas steam during baking.

Crust on the brink

Crust on the very brink of burning ends up with deep flavor and crunch

Airy crumb

By foregoing a second rise and relying on the flavor development from the slow fermentation pre-dough portions, a much lighter crumb is possible

Bubbling Cauldron of Endless Bread Production

How to create your own wild yeast starter from thin air.

I was going to do this pictures again, but as it turned out, they’re all incredibly boring. Just small bowls of pale dough with a few bubbles here and there.

But, I can tell you that the method Peter Reinhart advocates in his whole grain bread book, the one developed by Debra Wink of the King Arthur Baking Circle, does work, even if you’re a bit of a ham handed improviser rather than a proper baker.

After five days I now have a 200 gram wad of spongey, bubbling mush which, if portioned out correctly, will never stop making wonderful bread.

I really do highly recommend this book. The results are fantastic and I’ve only just scratched the surface on these recipes.

Altus Enhanced Whole Grain Hearth Loaf

Altus is made by cubing old bread and soaking it in water until it completely hydrates. After a few hours, this is then added to the soaker when that is made.

In my case, I used the butt ends of the rye seigle from the other week.

Rye seigle ends cut and soaked

Rye seigle ends cut and soaked

final dough flour & caraway seeds

final dough flour & caraway seeds

starter and soaker

starter and soaker

Too wet to cut into chunks

Too wet to cut into chunks

Note the commercial yeast bubbling away, there, ready to help.

With enough extra flour it came together

With enough extra flour it came together

My batards are getting better

My batards are getting better

Center cut and baking

Center cut and baking

The halo effect is from the steam bath in the oven

My most picturesque loaf so far

My most picturesque loaf so far

A teensy bit under-cooked, but still good

A teensy bit under-cooked, but still good